Blog
Daylight During Bow Season Working a Licking Branch - Weiss Realty
Engineered Scrapes: A Proven Strategy to Improve Your Deer Hunting
By: Chad Garteski
Posted: 9/24/2025
If you’ve been in the deer hunting world for any length of time, you’ve probably heard about “mock scrapes.” The term gets tossed around a lot, but it doesn’t quite capture what’s really happening. Once deer start using a scrape, it’s no longer “mock” — it’s the real thing. That’s why I prefer to call them engineered scrapes.
Why “engineered”? Because you’re intentionally creating and designing the scrape for a specific purpose, in a specific location, with the goal of influencing deer movement. Done correctly, engineered scrapes can become one of the most powerful tools in your hunting strategy.
Why Build an Engineered Scrape?
Creating your own scrapes offers a range of advantages:
-
Better trail camera photos – Scrapes give you a prime location to capture clear, daylight pictures of deer frequenting your land.
-
Attracting deer to key areas – You’re not leaving deer movement to chance. Scrapes draw them into spots you can hunt effectively.
-
Stopping deer in their tracks – Deer often pause at scrapes, giving you that perfect moment for a shot.
For landowners, this strategy not only improves your hunting success but also increases the appeal and value of your property when it comes time to sell. Buyers looking for hunting acreage love to see established systems like this in place.
Where to Make a Scrape
Placement is everything. The most effective scrapes are built in high-traffic, high-visibility areas, such as:
-
Tight inside corners or outside points along field edges
-
Flat creek bottoms and ridge tops where deer trails intersect
-
Open spots where you can trim back surrounding vegetation
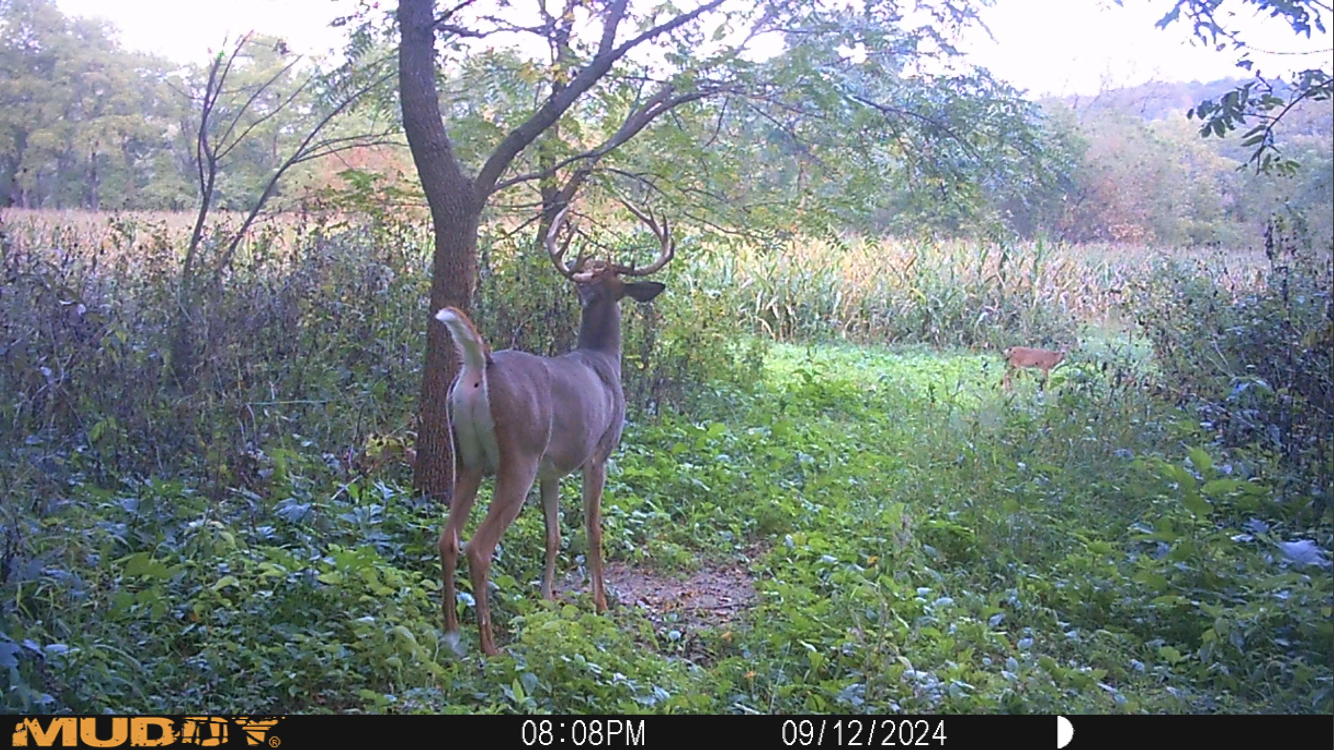
Think of it like setting out a plate of cookies on an empty table — you want it to be obvious and irresistible. Just as important, ensure there’s a stand or blind location downwind and within shooting range. An active scrape is useless if you can’t hunt it effectively.
How to Build an Engineered Scrape
-
Pick the right ground – Choose a flat area with soil that’s easy to paw at (avoid rocky or root-filled spots).
-
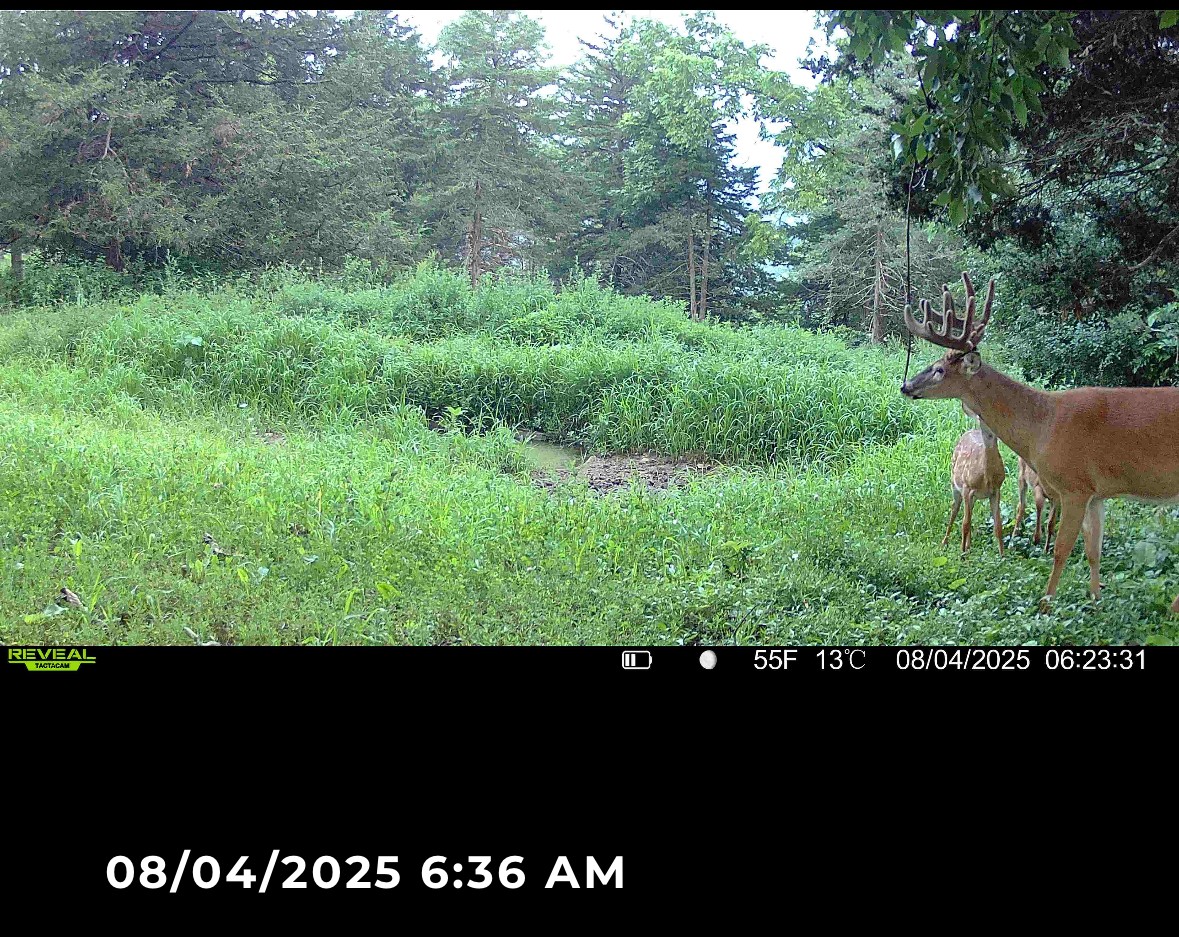
Find an overhanging branch – Look for one 7–8 feet high and extending outward for easy access.
-
Add a licking branch – Secure a vertical branch or grapevine with cord, twine, or zip ties. Aim for waist-high (30–36 inches off the ground). Too low, and raccoons will destroy it; too high, and deer may ignore it.
-
Expose the soil – Clear an 18-inch circle beneath the licking branch so bare dirt is visible.
-
Prime the scrape – Commercial scents can be effective but may not be legal in Chronic Wasting Disease (CWD) areas. The simplest, most effective (and free) method? Urinate in the scrape. Deer respond surprisingly well to this.
Monitoring and Trail Camera Tips
If you’re adding a trail camera:
-
Place it 10–15 feet away and slightly hidden.
-
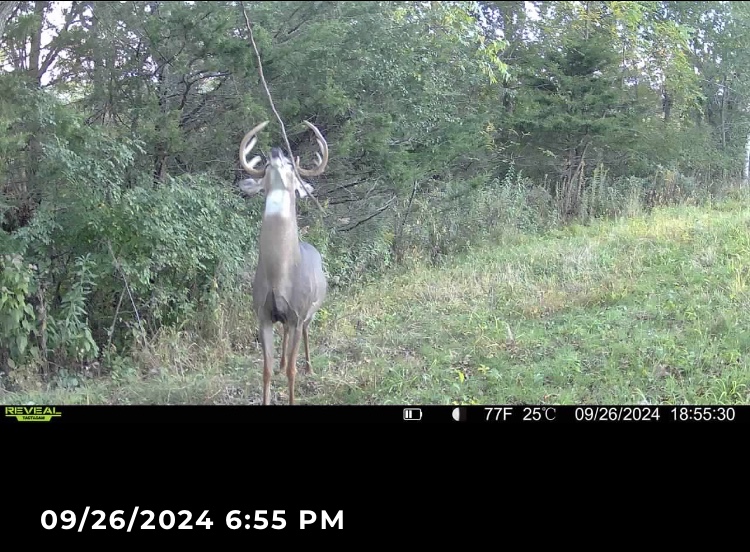
Frame the licking branch in the left or right third of the photo to reduce false triggers from wind movement.
-
Consider the angle of deer movement so you don’t end up with half-body shots.
-
Always think about how deer will position themselves relative to your stand — that’s the true “engineering” advantage.
Timing: When to Create Scrapes
-
Year-round – Deer will visit scrapes with licking branches anytime.
-
Late summer/early fall – Best time to set them up so deer are accustomed before peak season.
-
Peak use – Late October through early November, during the pre-rut and rut.
Even if you’re late to the game, it’s never too late to create one. Deer often start using well-placed scrapes almost immediately.
Final Thoughts
Engineered scrapes are more than a hunting tactic — they’re a property enhancement. For hunters who own land, they provide a major advantage in the field. For sellers, they demonstrate thoughtful land management and add to the value of a hunting property.
Whether you’re looking to improve your hunting success this season or maximize the appeal of your property for potential buyers, engineered scrapes are a smart, effective strategy worth investing in.
Giant Buck Checking a Licking Branch in August - Weiss Realty
Mature Buck Checking a Scrape Positioned in Front of Blind - Weiss Realty
Mature Buck During Fall Daylight on an Engineered Scrape - Weiss Realty